Payment Links overview
Accept payments online without writing a single line of code.
Payment Links are the easiest way for you to accept payments online without a digital storefront. Create a link within a few simple clicks and share the URL or QR code on invoices, social media, emails, or your website. Collect payments via cards and 30+ payment methods from anywhere in the world, in any currency.
Your payment links also come equipped with 3D secure authentication and fraud protection, giving you the peace of mind that you can protect your business from fraudsters.
In cases where you need bulk creation or automation, you can also create payment links programmatically by leveraging our Payment Links APIs.
Use this step-by-step guide to learn how to create a payment link.
Some payment methods only support certain currencies. Please check the payment method overview and click into the particular payment method for more details.
Supported Features
| Features | Payment Links |
|---|---|
| Merchant country codes | AU, CH, EU, HK, JP (Beta), SG, NZ, UK, US |
| Shopper country codes | Global |
| Payment methods | Apple Pay, Google Pay, Visa, Mastercard, American Express, UnionPay, JCB, WeChat Pay, iDeal and over 30+ local payment methods |
| Features | Payment, Refund, Partial refund, 3DS authentication |
| Currencies | See payment method capabilities |
| Supported languages | English, Simplified Chinese |
Step 1: Customize your branding and add currency switching
Branding and Contact
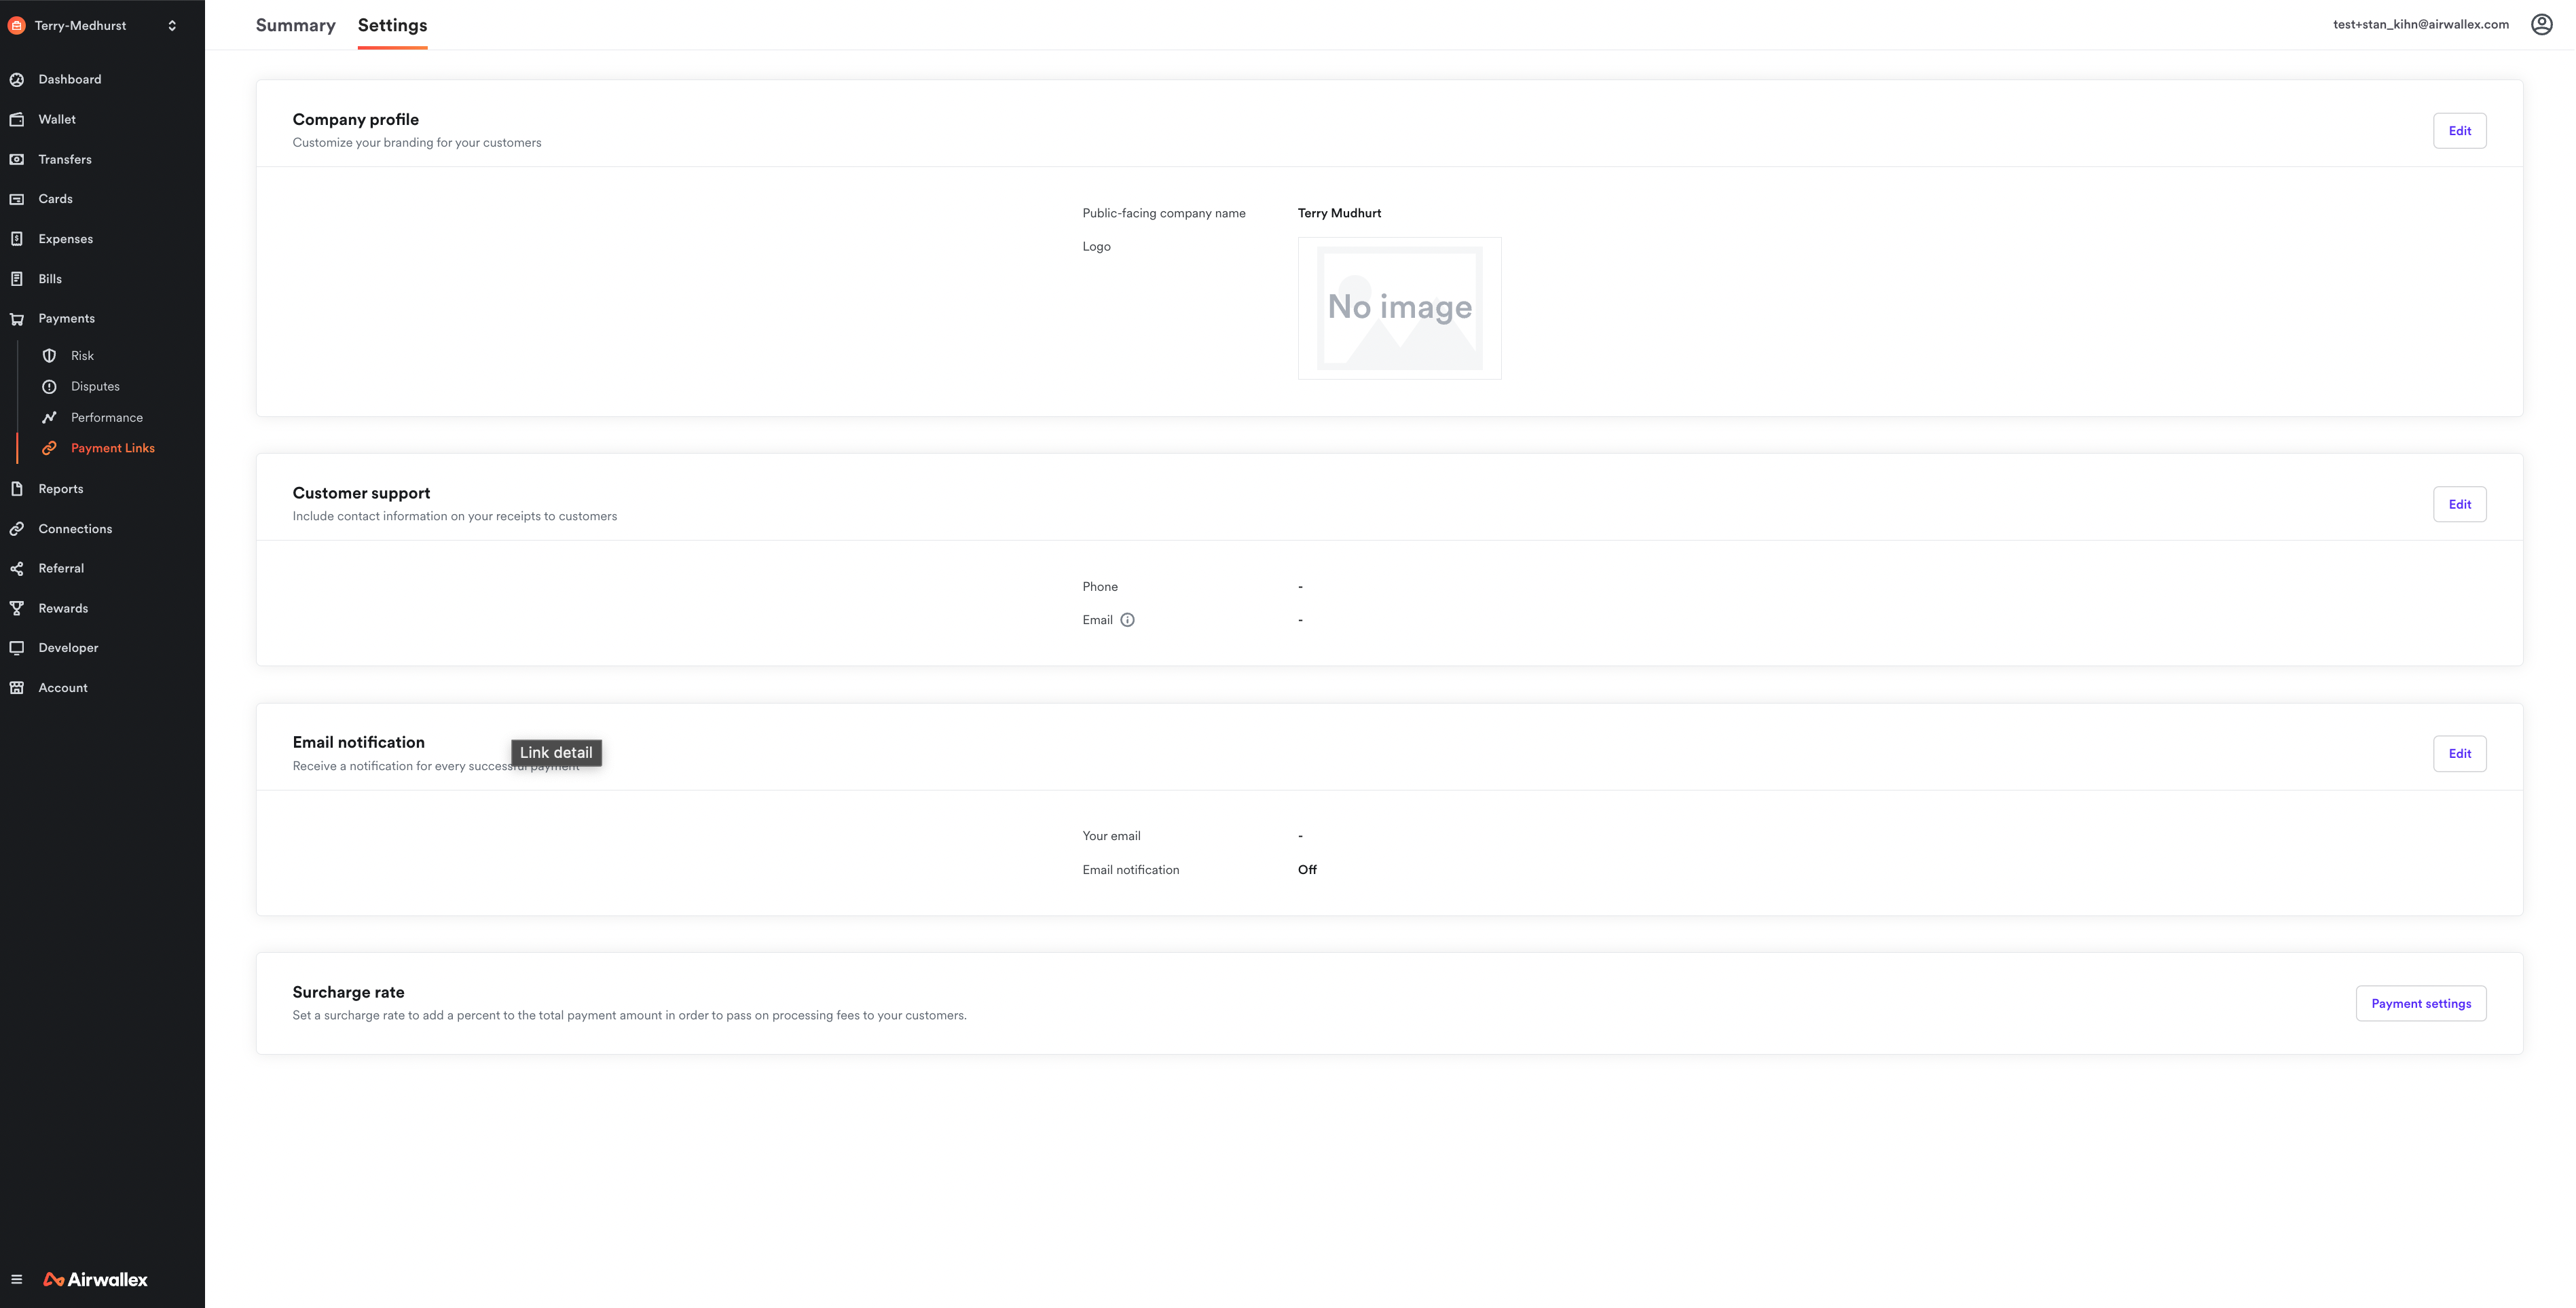
- In your web app, go to Payments>Payment Links>Settings

- Customize your company name, logo, contact information, and where to receive email notifications.
Currency Switching
Currency switching is currently in beta
Ensure currency switching is turned on in Payments > Settings to allow your shoppers to pay in any currency.
This will allow them use their local preferred payment methods regardless of the currency of your payment link amount

Step 2: Create a payment link
- In your web app, go to Payments>Payment Links and click “New payment link”
For payment links where you have a specific amount in mind (for example, invoices, specific products or services)
- Select “I will enter the amount”
- Enter the amount and currency
- Enter the payment link title,description (optional) and internal reference (optional)
- Choose what additional information to collect from your customer
- Set an expiration date and how many times you want to collect payments on this link
- Preview the link and click “Create”
For payment links where your customers decide on how much to pay (for example, a generic link to be attached to all invoices or to collect donations)
- Select “My customer will enter the amount”
- Choose which currencies you want to collect payment in and what default currency you want displayed to the customer
- Enter the payment link title, description (optional) and internal reference (optional)
- Choose what additional information to collect from your customer
- Set an expiration date
- Preview the link and click “Create”
Step 4: Get paid and track your payments
When a payment has been received, you will receive an email notification at the email address you’ve set within Payments>Payment Links>Settings>Email Notifications section. You can review all the payments received on a specific payment link by clicking into the link details.
